This craft is designed for ages 9 and up but can be customized to fit any age. I am 32 and enjoyed making this craft. I know my mom and aunt are going to to love their gift!
This Mother’s Day bookmark craft is a meaningful, hands-on gift that gives students the chance to slow down and think about what makes their mom, grandmother, aunt, or special caregiver so loved. It is simple enough for a classroom activity but personal enough to become a keepsake.
Students will create a bookmark using descriptive words, a handwritten note, and a cross charm to remind their mom how special she is.

Supplies Needed
Each student will need:
- Blank bookmark (I made them from cardstock)
- A printed sheet of descriptive words
- Scissors
- Glue stick
- Colorful markers or pens
- Clear packing tape
- Hole punch
- Yarn
- Beads (I use crosses for Sunday school)
- Optional: Glitter or sparkles
Step-by-Step Directions
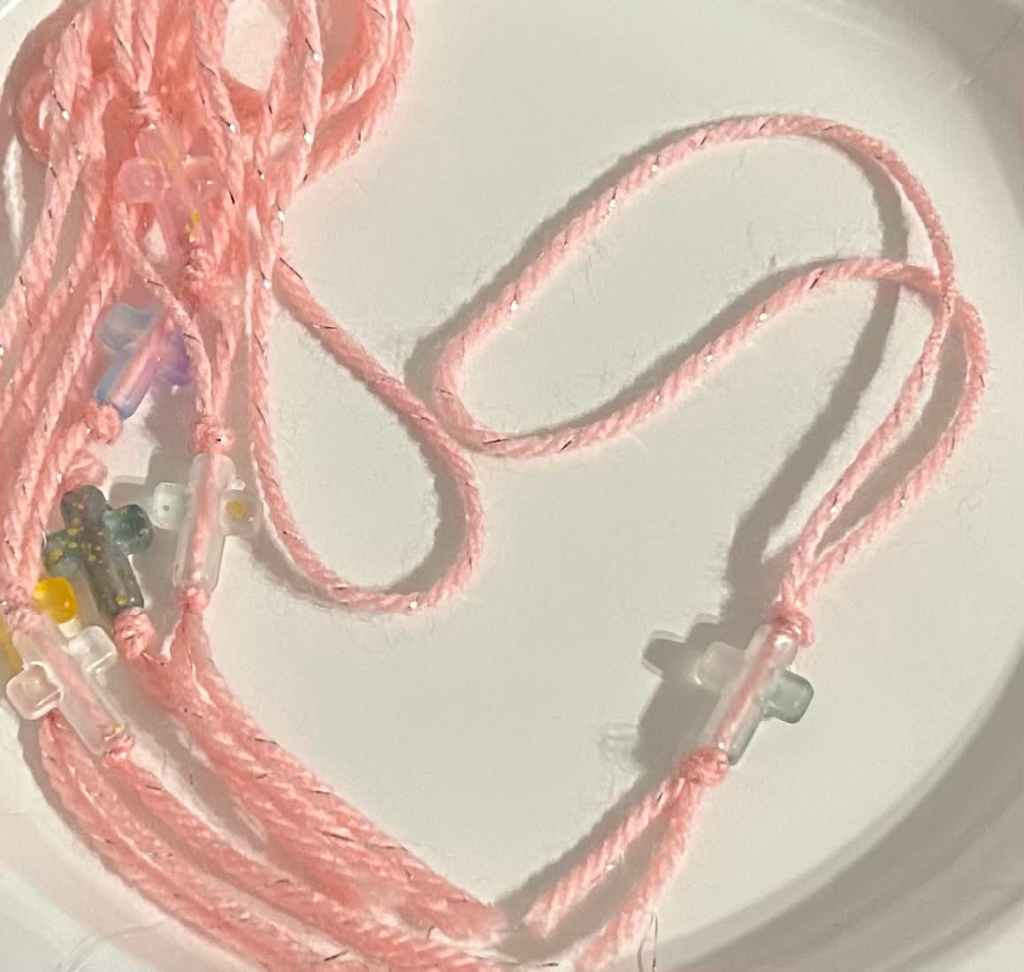
Step 1: Choose the Cross
To save time, I strung the beads onto the yarn ahead of time. Students choose out of the options which one they would like to use. Have them set it aside until the bookmark is finished.
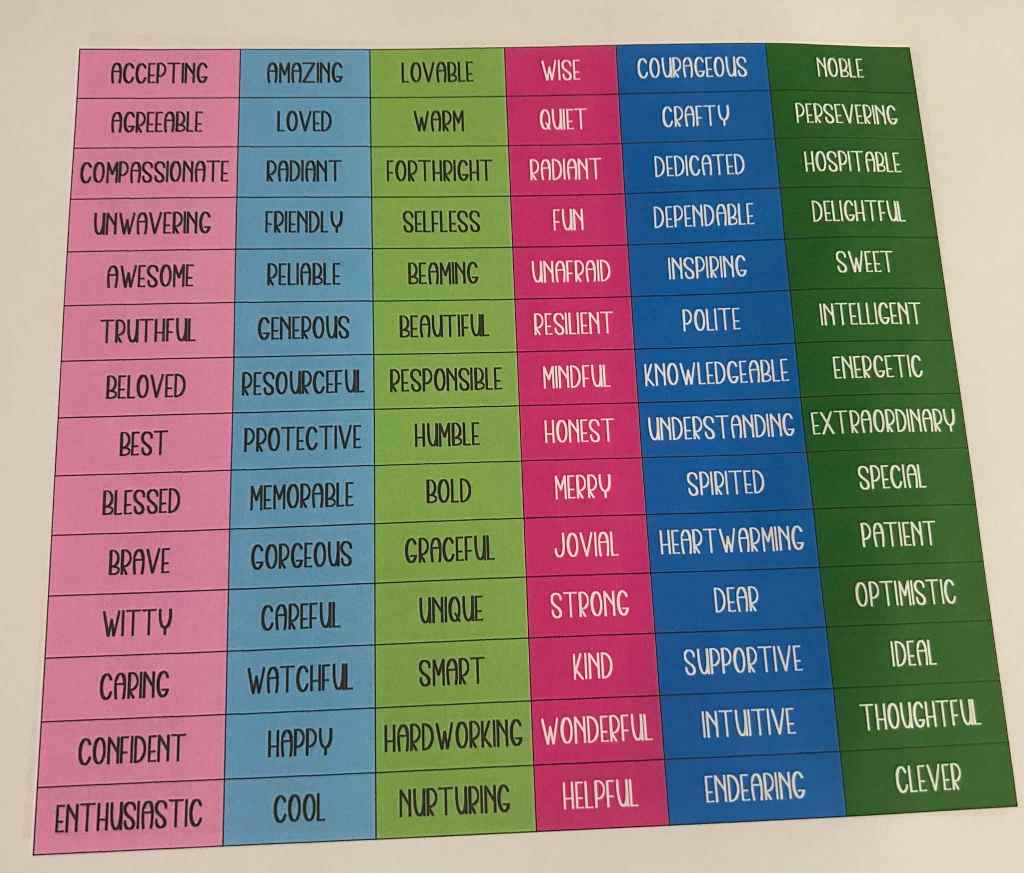
Step 2: Pick Descriptive Words
Students will choose 6 words from the sheet of 84 descriptive words that best describe their mom or special caregiver. Words might include things like:
smart, strong, caring, amazing, clever, courageous
Step 3: Cut Out the Words
Have students carefully cut out the six words they chose. Encourage them to take their time so the words look neat on the bookmark.
Step 4: Glue the Words
Be sure the book marks are thinner than the width of your packing tape. When preparing them for the class.
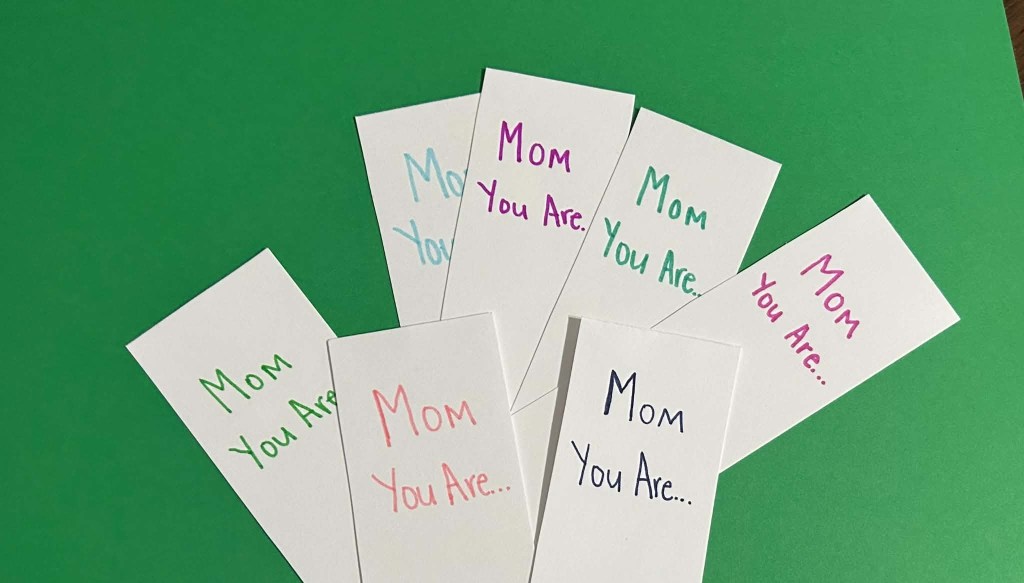
On one side of the bookmark, students will write:
Mom, you are…
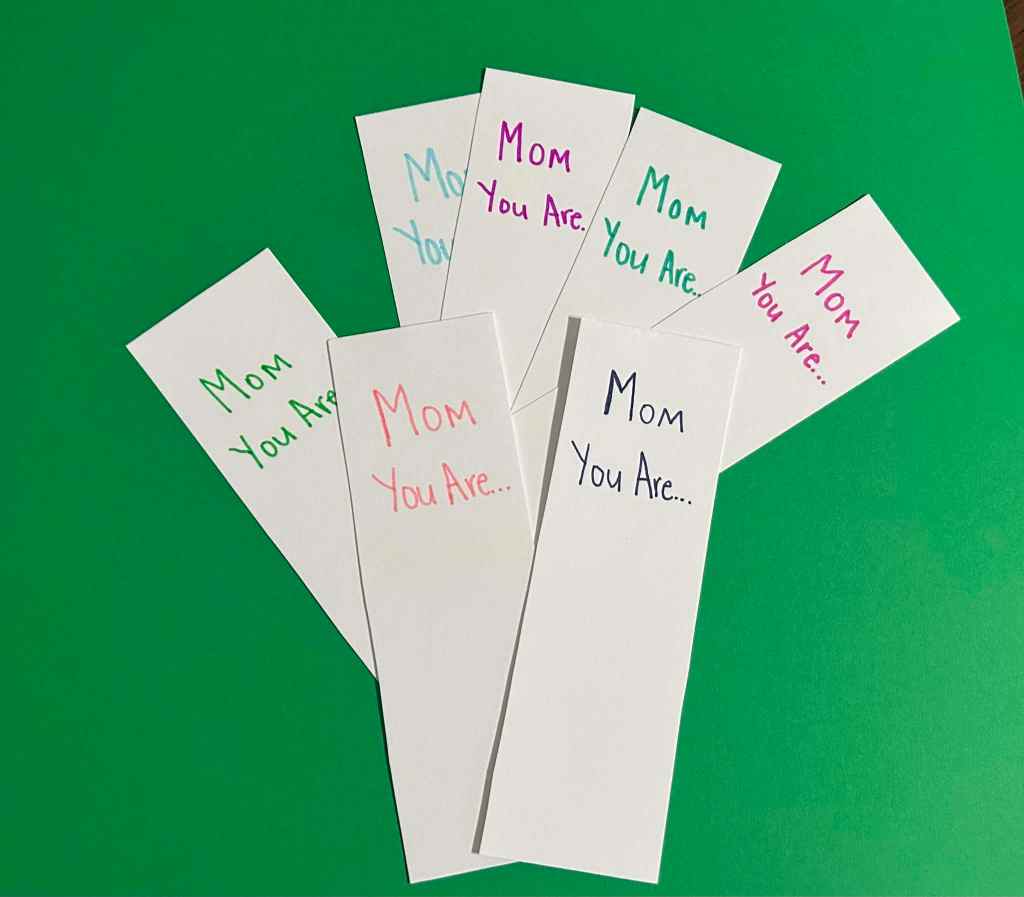
Then they will use a glue stick to attach the six descriptive words underneath. They can place the words straight, sideways, or at different angles to make the bookmark creative and colorful.
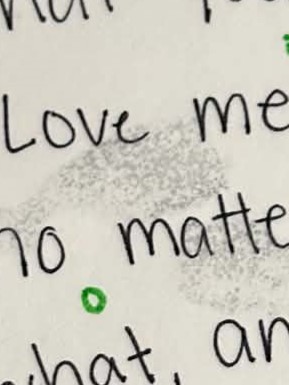
TIP: Do not use super glue! I had used super glue on my examples and that is why the smudges are coming through from the other side as you can see in the photo.
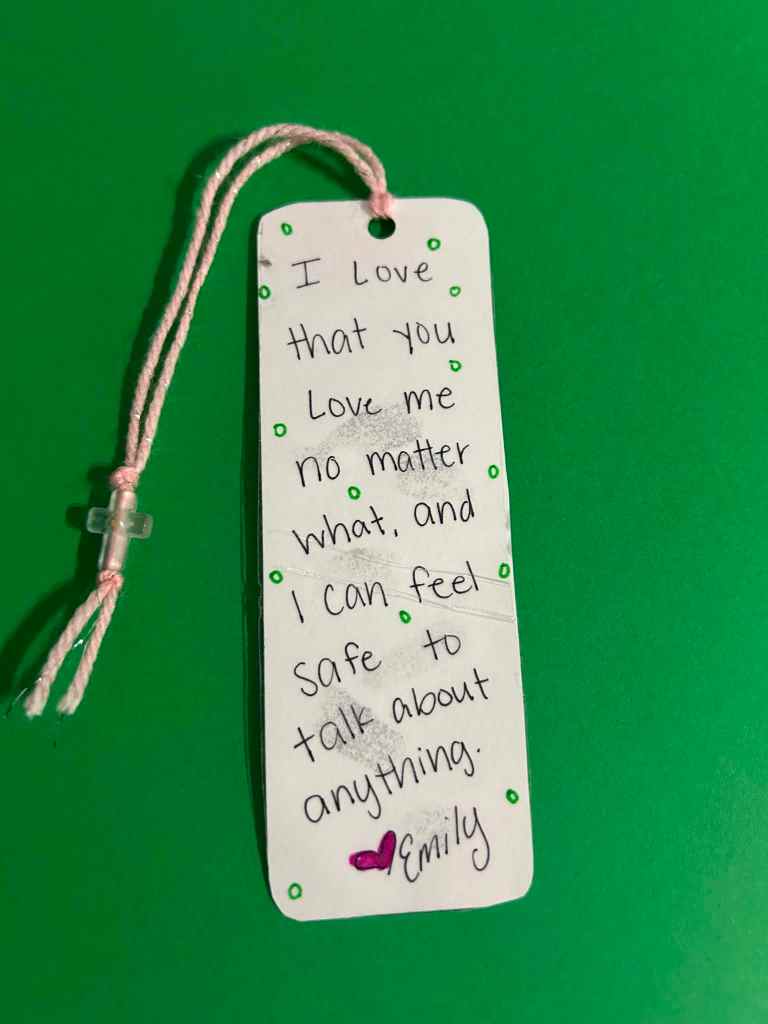
Step 5: Write a Personal Note
On the back of the bookmark, students will write a short note explaining why they love their mom. Encourage them to be specific.
For example:
“I love that you always listen to me.”
“Thank you for helping me when I need you.”
“I feel safe talking to you.”
This step makes the bookmark extra meaningful because it comes straight from the student’s heart.
Step 6: Seal the Bookmark
Once the glue is dry, cover both sides of the bookmark with clear packing tape. This helps protect the words and the handwritten note so the bookmark lasts longer.
Trim any extra tape around the edges.

Step 7: Punch a Hole
Use a hole punch to make one hole at the top of the bookmark.
Step 8: Add the Cross
Finally, students will string the cross through the hole at the top of the bookmark. Once it is attached, the Mother’s Day bookmark is complete.
Why This Craft Is Special
This craft is more than just a bookmark. It gives students a chance to practice gratitude, thoughtful writing, fine motor skills, and creativity. It also creates a sweet keepsake that moms can use in their Bible, devotional, journal, or favorite book.
The finished gift is simple, personal, and full of love.
Click to see the Cross Beads On Amazon
Click to see the yarn I used from Walmart Mandala Sparkle

Leave a comment